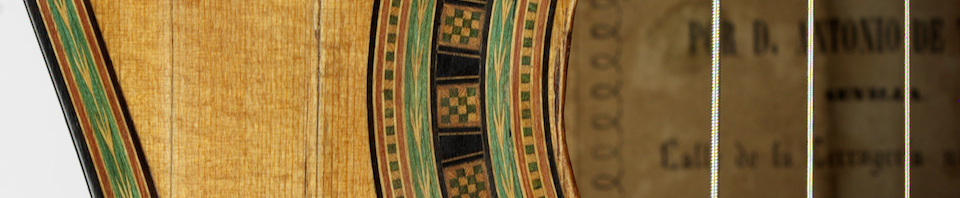

For this replica project many jigs have to be custom made. For example, today it is the custom for guitar makers to order their veneers from suppliers. Only very few luthiers make their own veneer, and especially when it comes to dyeing the veneer most guitars are built with commercially available products.
The problem with these products is that their range is surprisingly small: There are probably only 3 different types of green available in North America, and for the most times one can choose only from 2 types of wood (Koto and Sycamore). In addition to that, veneers are normally available in 0.3 and 0.6 mm thickness. On top of it all, it has become more and more difficult to obtain the superior Sycamore veneers. So if you want to use a Holly veneer that is 0.4 mm thick and dyed a warm yellowy green, you have to make your own.

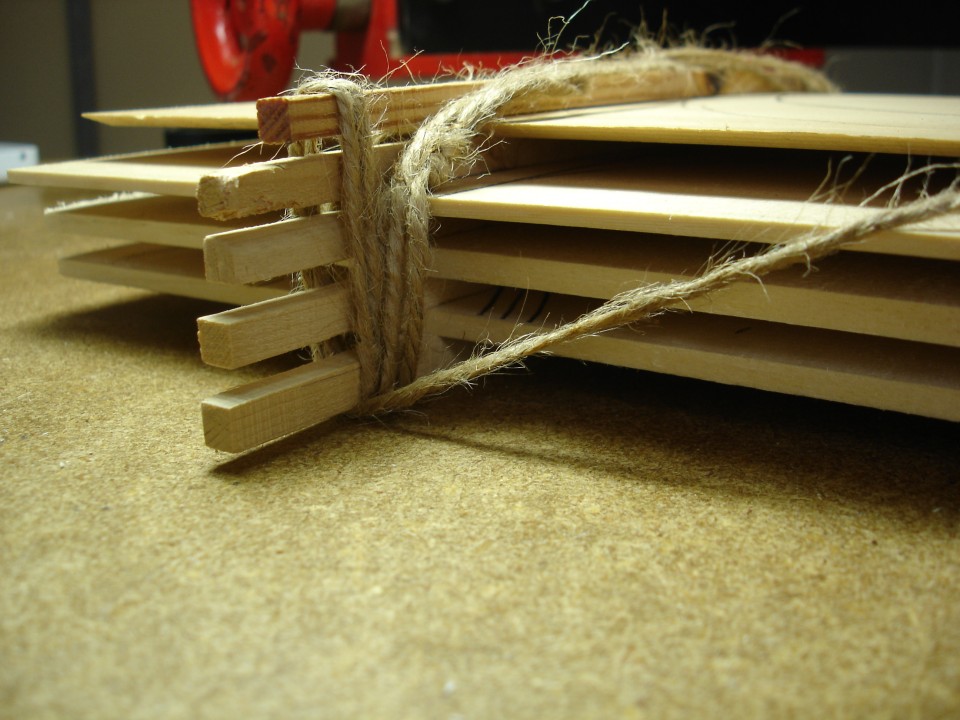
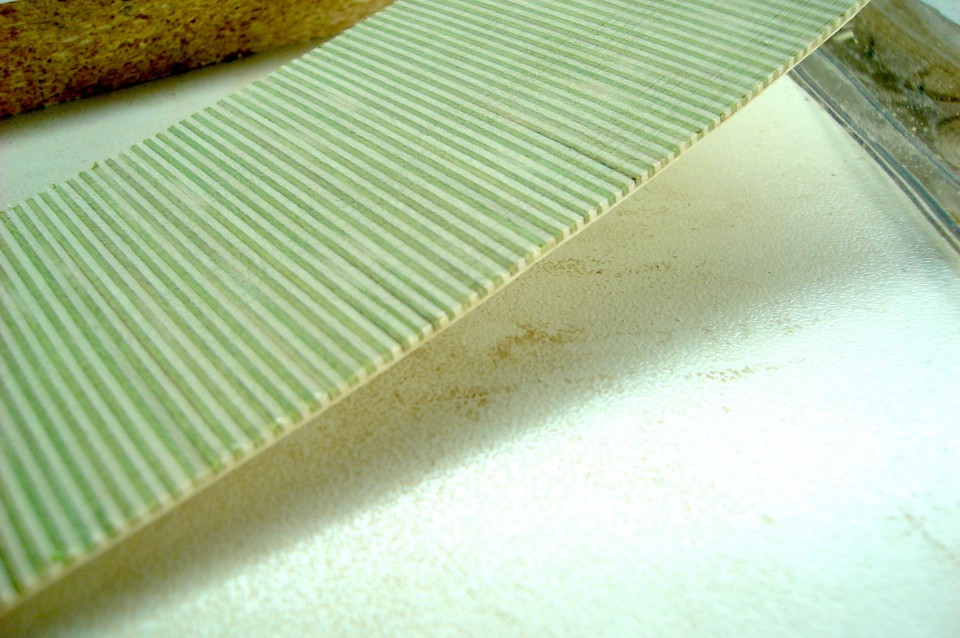
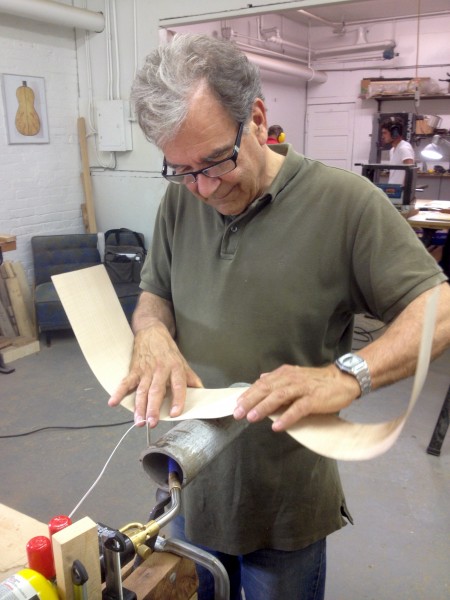
Especially for projects (such as the replica) that dictate a specific colouring and wood species, making the necessary jigs and becoming your own supplier is essential. In the picture on the left you can see how sawed veneers are made in my shop, from the raw piece of lumber to the final product.
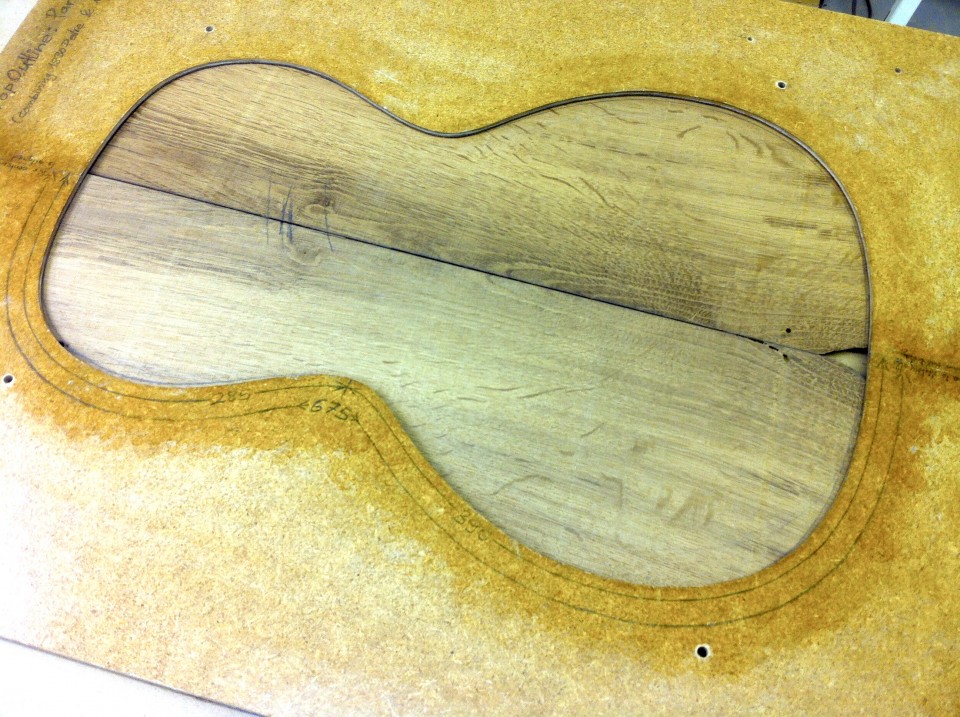
The vacuum fence for the table saw

Many methods are available for thicknessing your own veneers. Industrially this is usually done with thickness sanders, and one of the traditional Spanish methods is to make strips with a plane by hand – adjusting the plane blade to a very aggressive cut and then slice away at the block of veneer wood. Although I would like to learn and explore the latter technique, I have doubts it is effective in obtaining Ebony strips that are 1.0 mm thick.
This and the fact that I don’t own a thickness sander is why I turned to my tablesaw. It is an excellent tool for thicknessing wood, since it provides a very clean cut surface. Provided that you have a proper fence that holds the veneer in place, you can cut astonishingly thin veneers on the tablesaw.

A fence that uses suction to hold the veneer permits you to cut the veneer quite thin. I have my shopvac hooked up to the fence, which glides on the original tablesaw fence like on a rail. Once the shopvac pulls the wood to the fence, it is impossible to pull it of by hand. Which is fantastic for resisting the force of the table saw blade. So far I have made veneers from Holly (which can be brittle and is difficult to sand down) that are 0.9 mm thick. I managed to work cedar to 0.7 mm with this setup, and the final touches are currently done on my drill press (with a sanding drum).

Pingback: The devil is in the details | Torres Replica
Pingback: The obsession with precision » Florian Vorreiter Lutherie