The idiom “the devil is in the details” derives from the earlier phrase, “God is in the detail”; expressing the idea that whatever one does should be done thoroughly; i.e. details are important. (form Wikipedia)
Both of the phrases above prove themselves true many times over in instrument making. Today I would like to focus on why it is the devil that is found in the detail. Specifically how the devil is in the absence of a backing veneer.
When this saying is used in German (“Der Teufel steckt im Detail”), one generally refers to something small that has been overseen (or ignored), which in turn leads to a whole bunch of problems which could have been avoided. I must admit that I wasn’t always focused on detail, and I sometimes felt that thorough and precise work was something reserved for the meticulous and pedantic mind. But suprise surprise, during my career I have begun to accept and even love the attention to detail. Seriously.
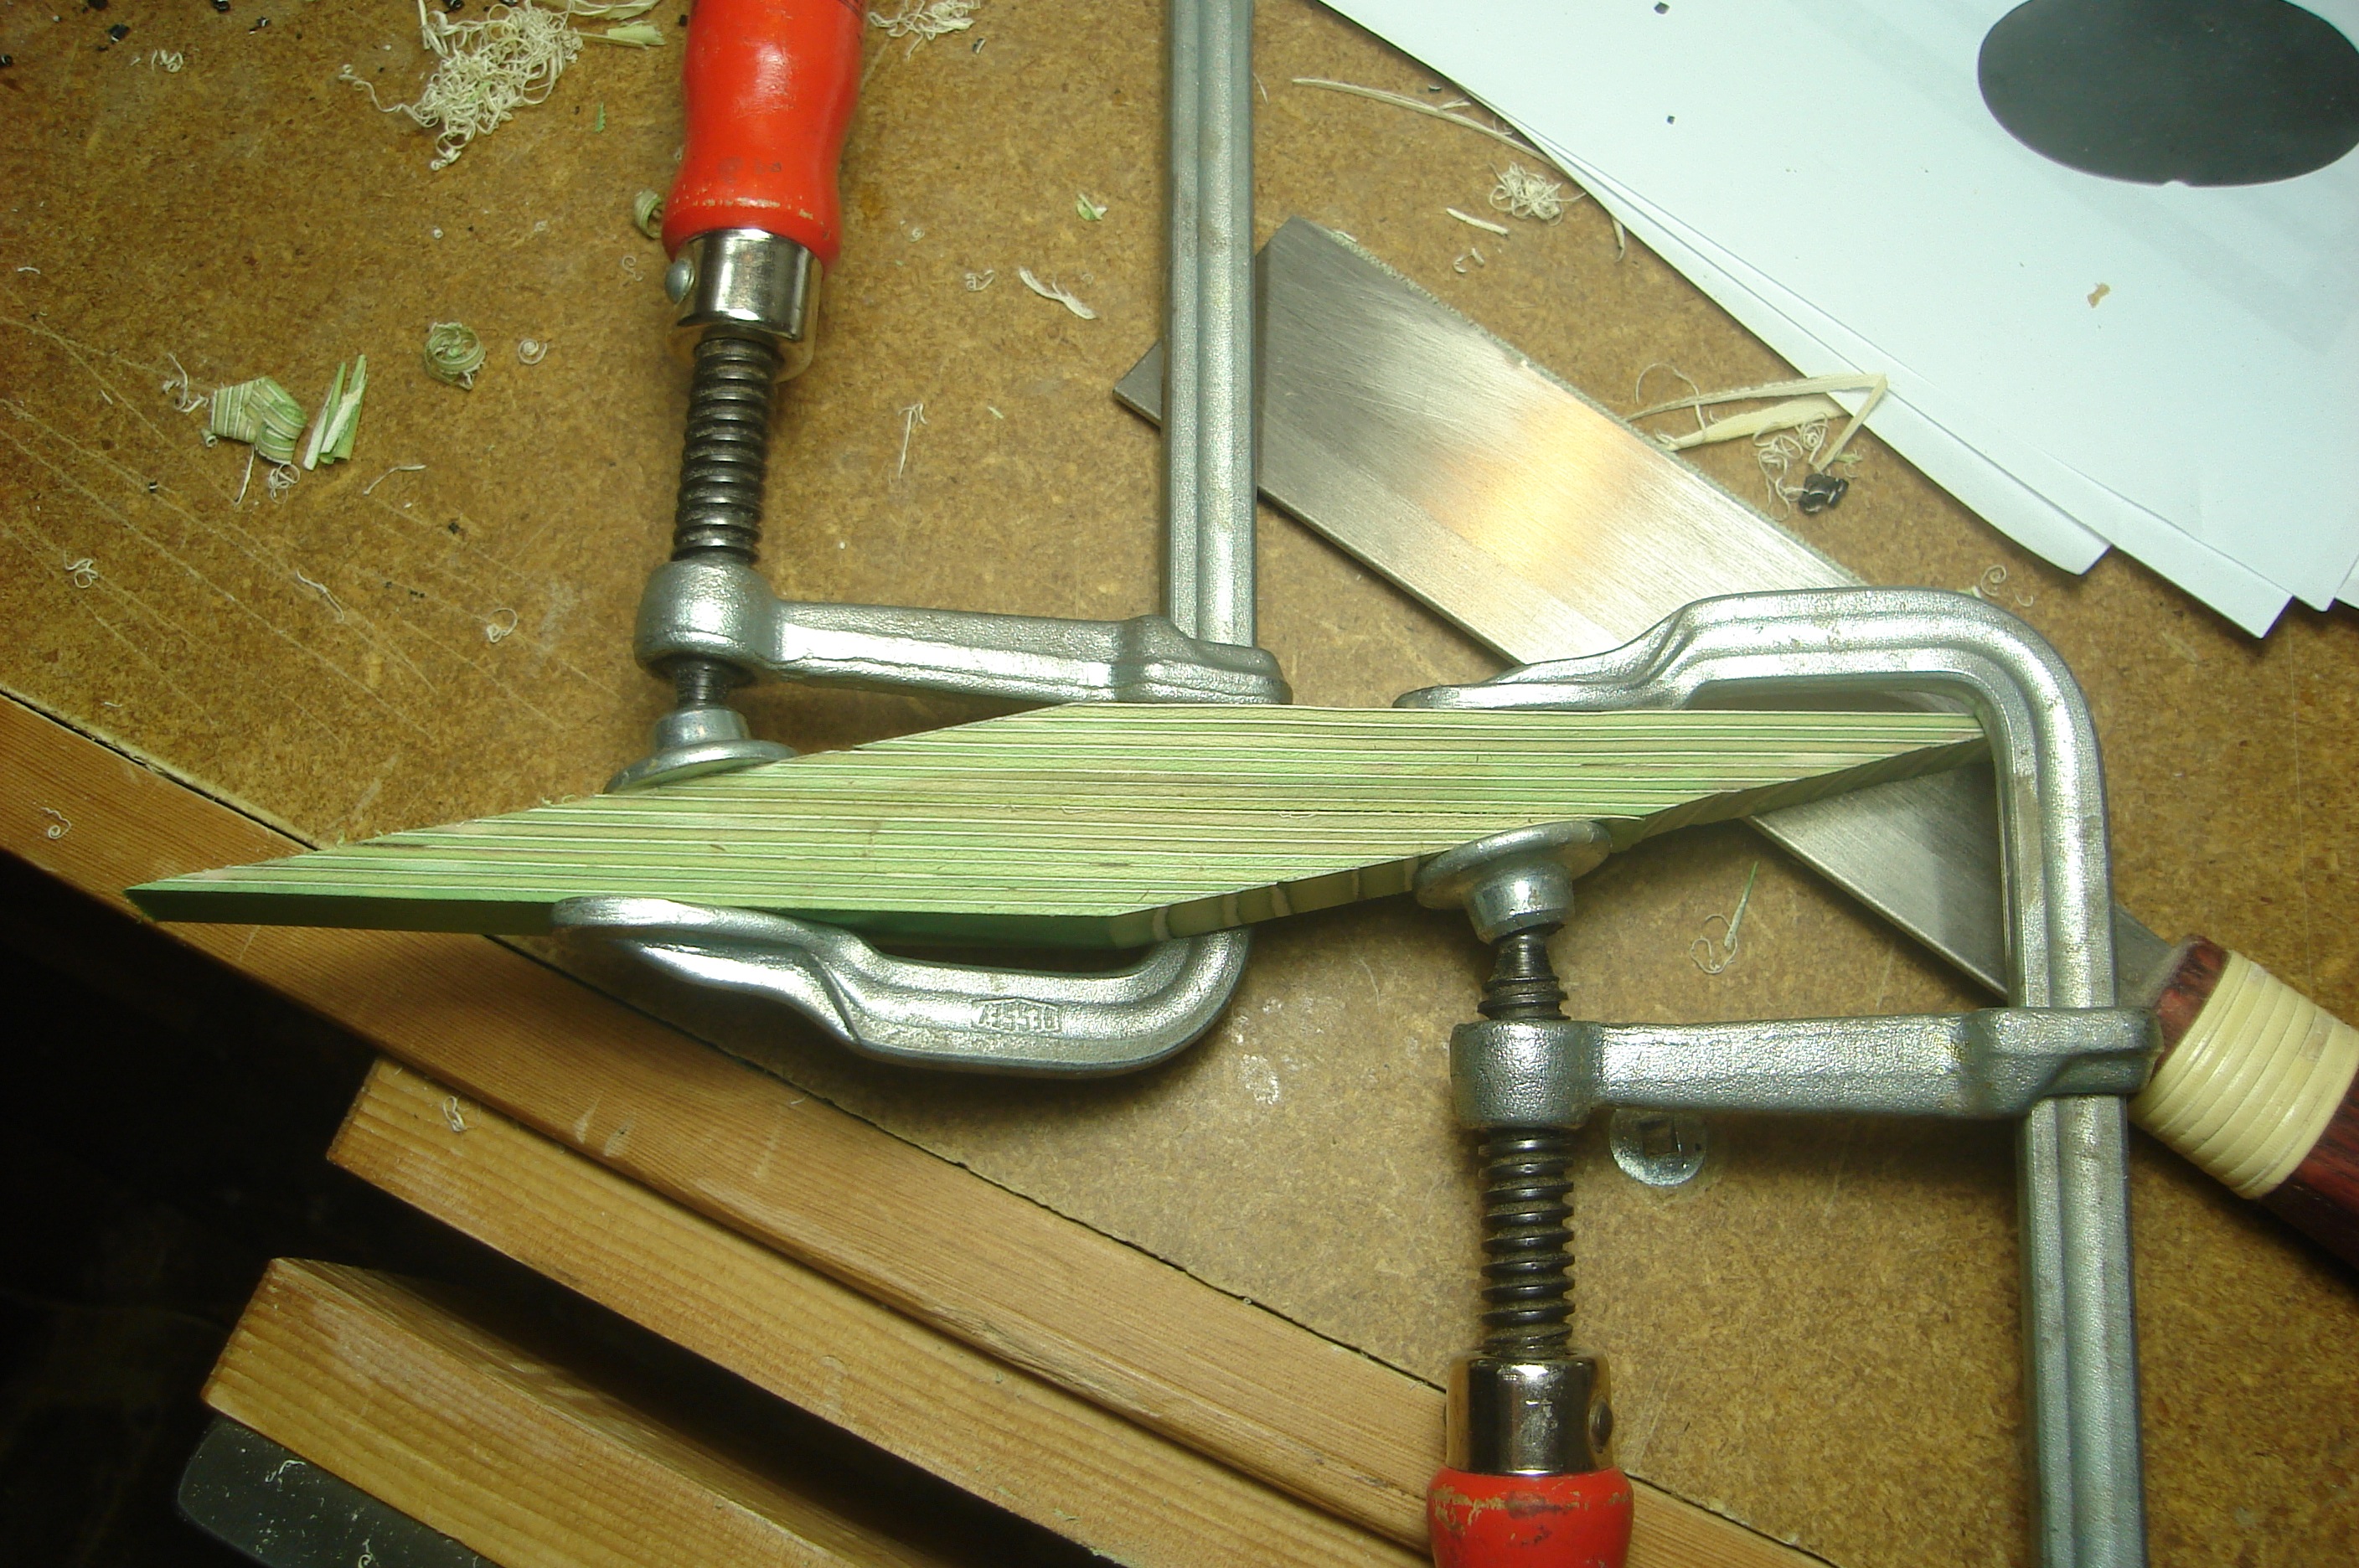
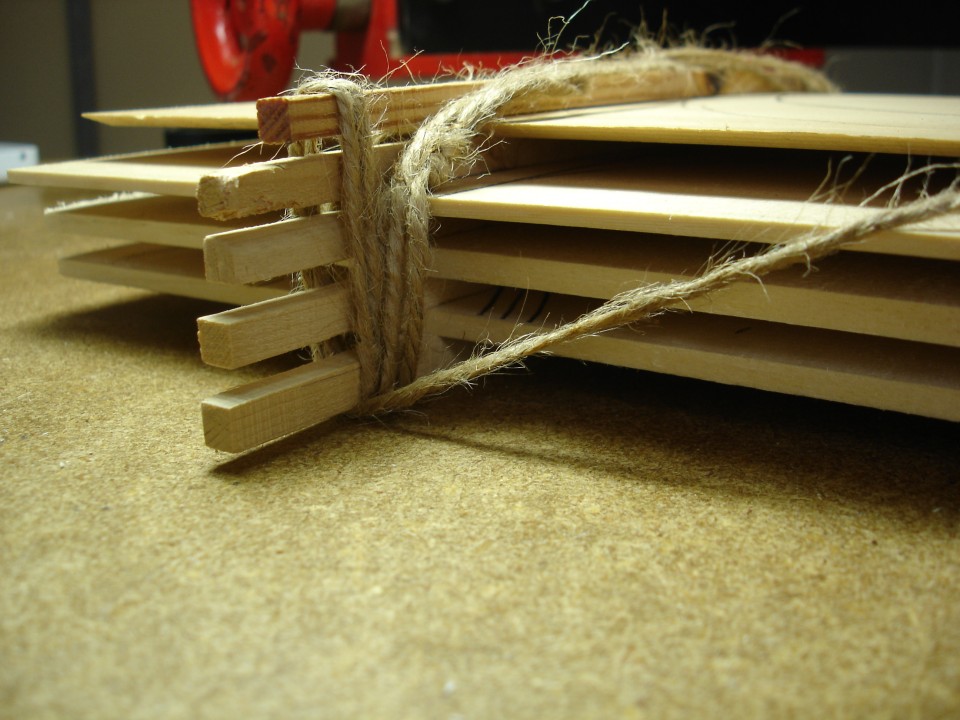
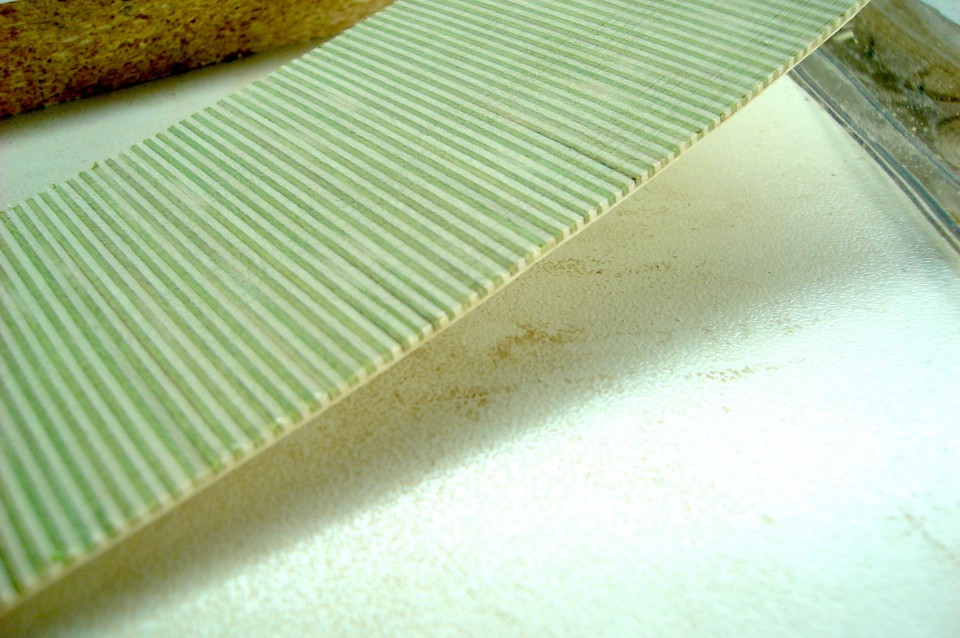
When I was recently working on the materials for the rosette pattern in my Torres replicas, I was studying and learning new techniques. Whereas bracing patterns and wood selection are an ever-present topic in guitarmaker’s schools and symposiums, the art of making you own rosette materials is rarely taught. Which is why during this year I have started teaching myself. After exploring wood dyeing techniques, and building special jigs to thickness my veneer sheets, I have been working on perfecting the wheatear motif. Building the wheatear is a long process, and can hardly be finished in a day. Many sheets of dyed or differently coloured veneers are glued together, until one has a big block of veneers. This block then gets cut at an angle, reglued and planed, thus creating a long block of stacked veneers from which one can cut sheets of wheatear. Which is where it gets tricky.
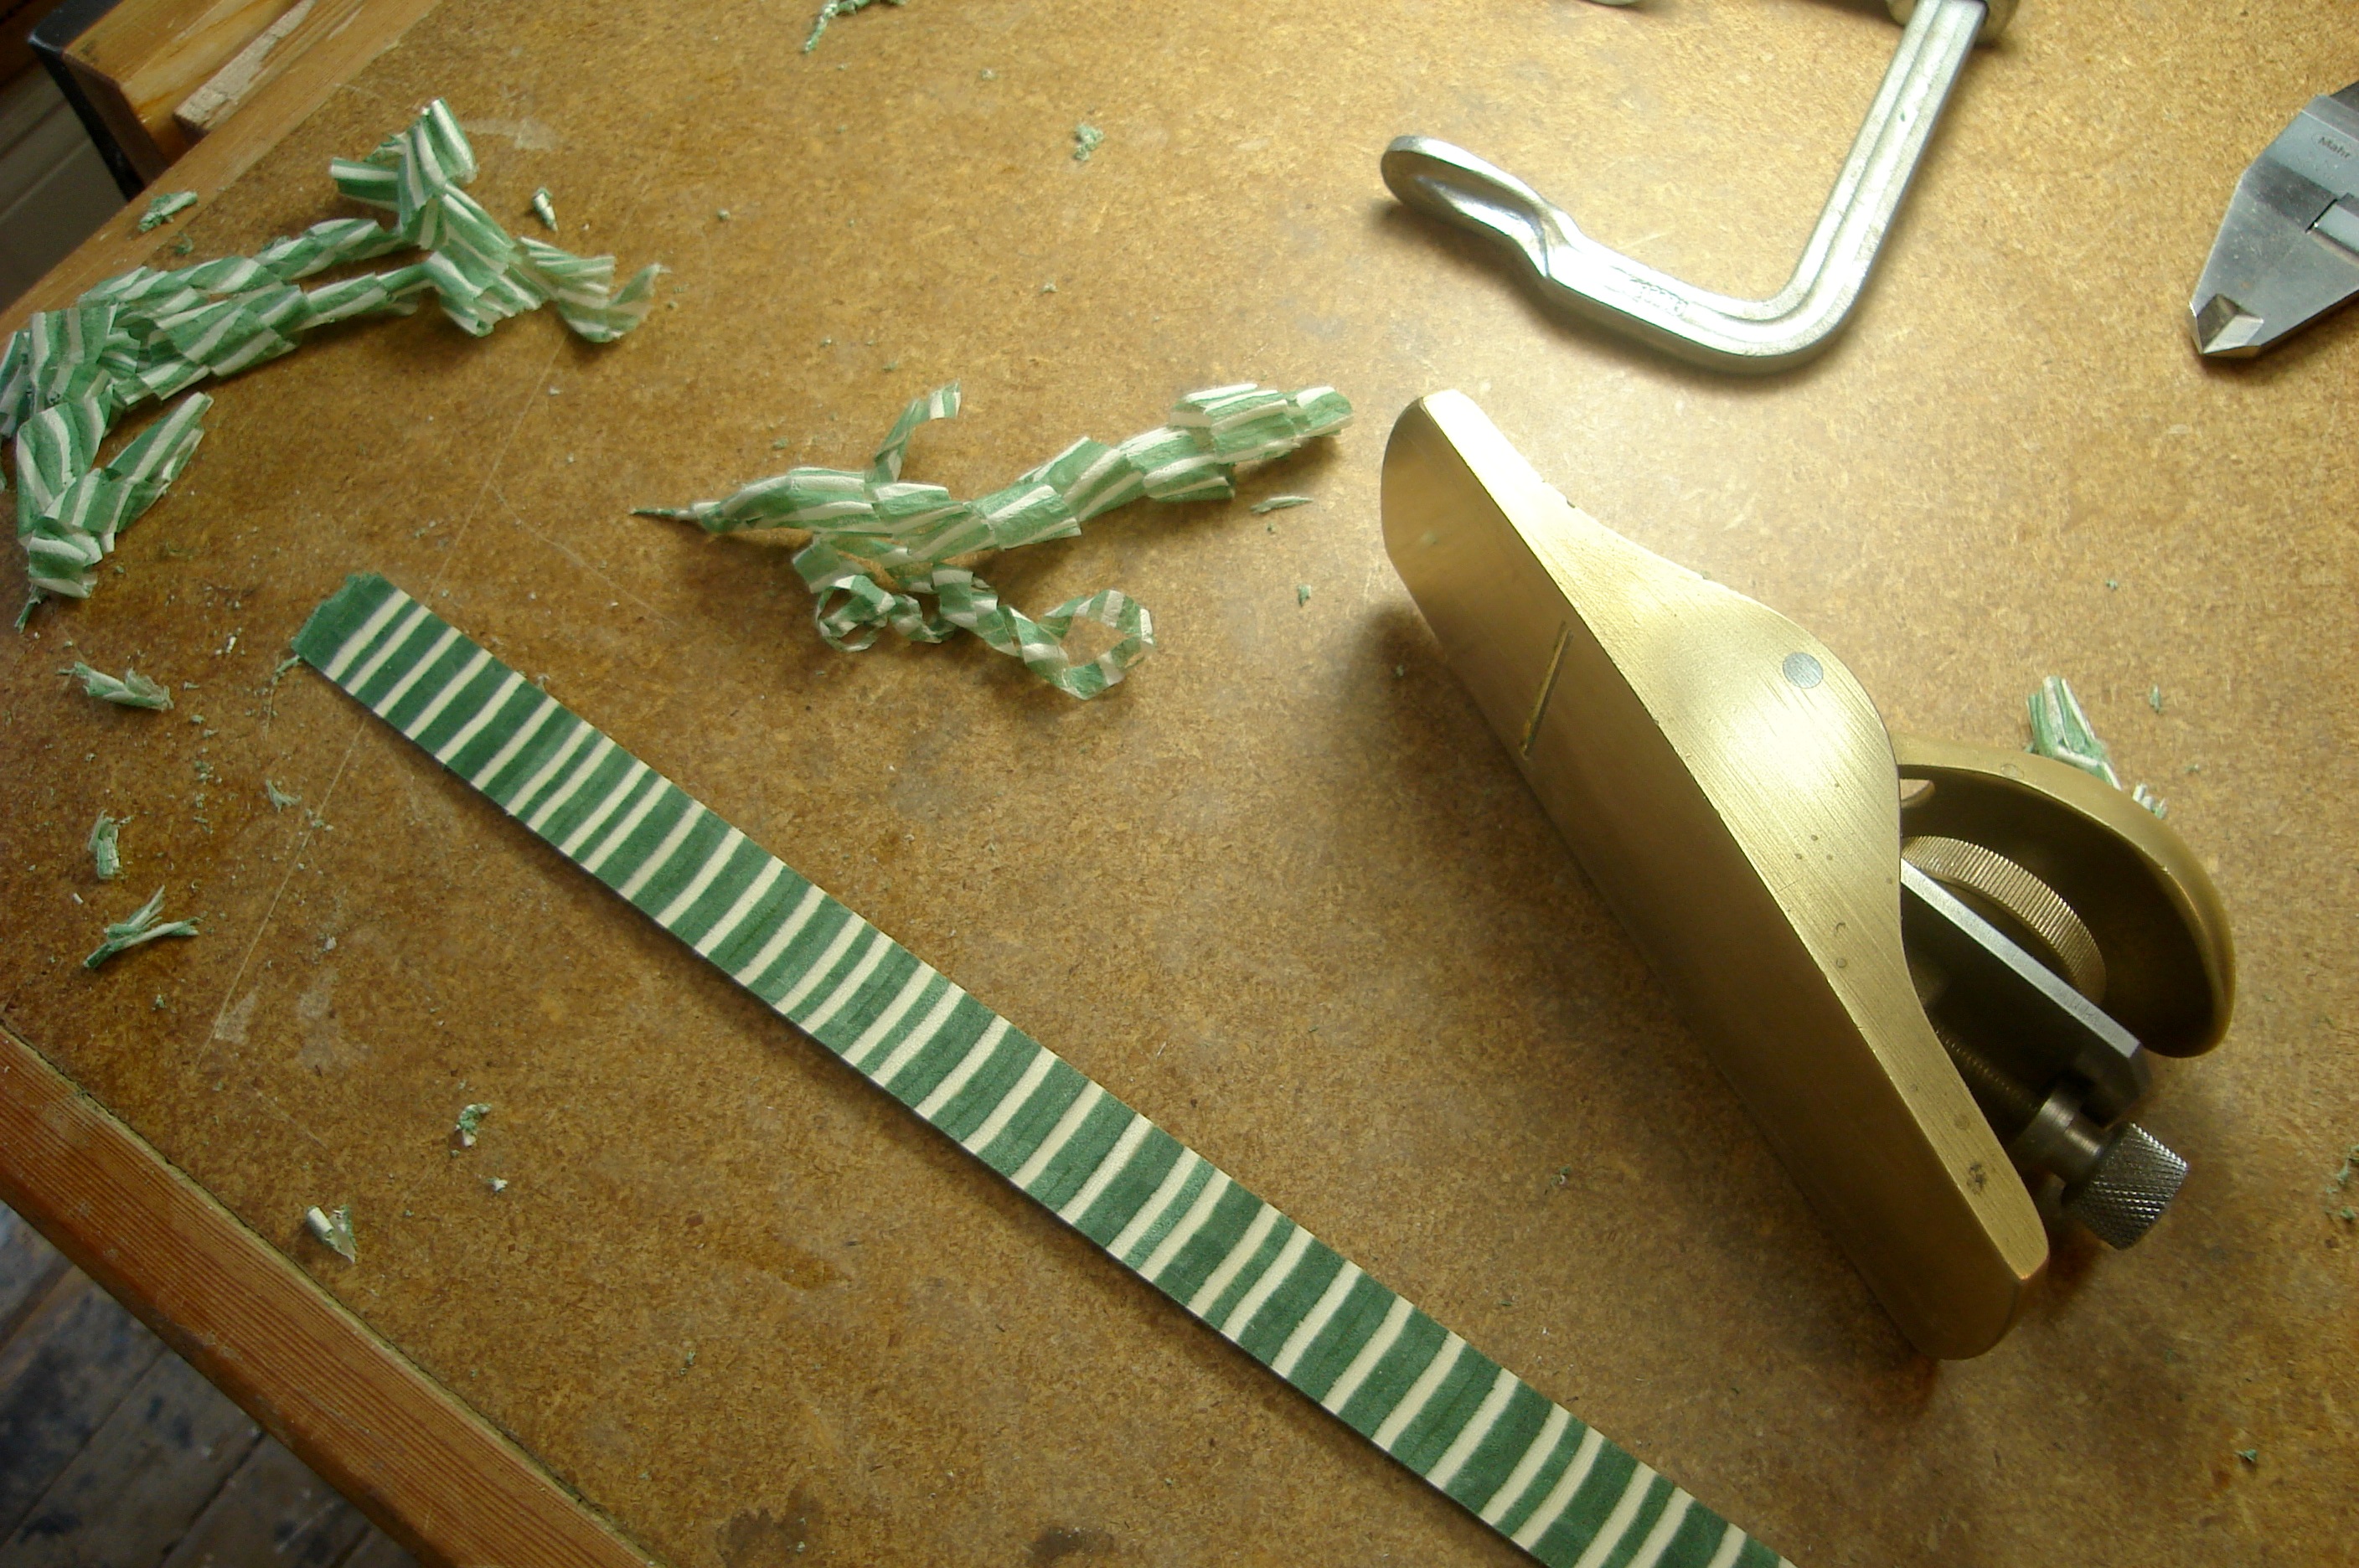
Here is why: The wheatear motif in the Torres rosette is approximately 2.5 mm wide. This means it consists of 5 strips, each of a thickness of 0.3 mm and 0.6 mm. If you take one of the wheatear strips and try to bring it to final thickness (0.5 mm), it easily gets eaten by the sander (powertool technique) or torn by the plane (hand tool technique). After ruining 80% of my wheatear stock this way, I had to sit down and recalibrate. Obviously, no matter what technique I used (I used a fellow guitarmaker’s instructional book as guidance), a huge amount of wood was lost to breakage. The one thing I had learned at that point is that the hand-tools did provide nicer and more precise results for me. I wanted to continue thicknessing these striped sheets by hand; the question was how to do it without breaking most pieces and cursing myself (or the wood) all day. I pondered over my large-formate glossy prints of Torres’ rosette, until it struck me that he used green continuous veneers right beside his green and white wheatear. This led me to the conclusion, that this green veneer was glued on the wheatear before thicknessing, and therefore held all pieces together when planing them to thickness.
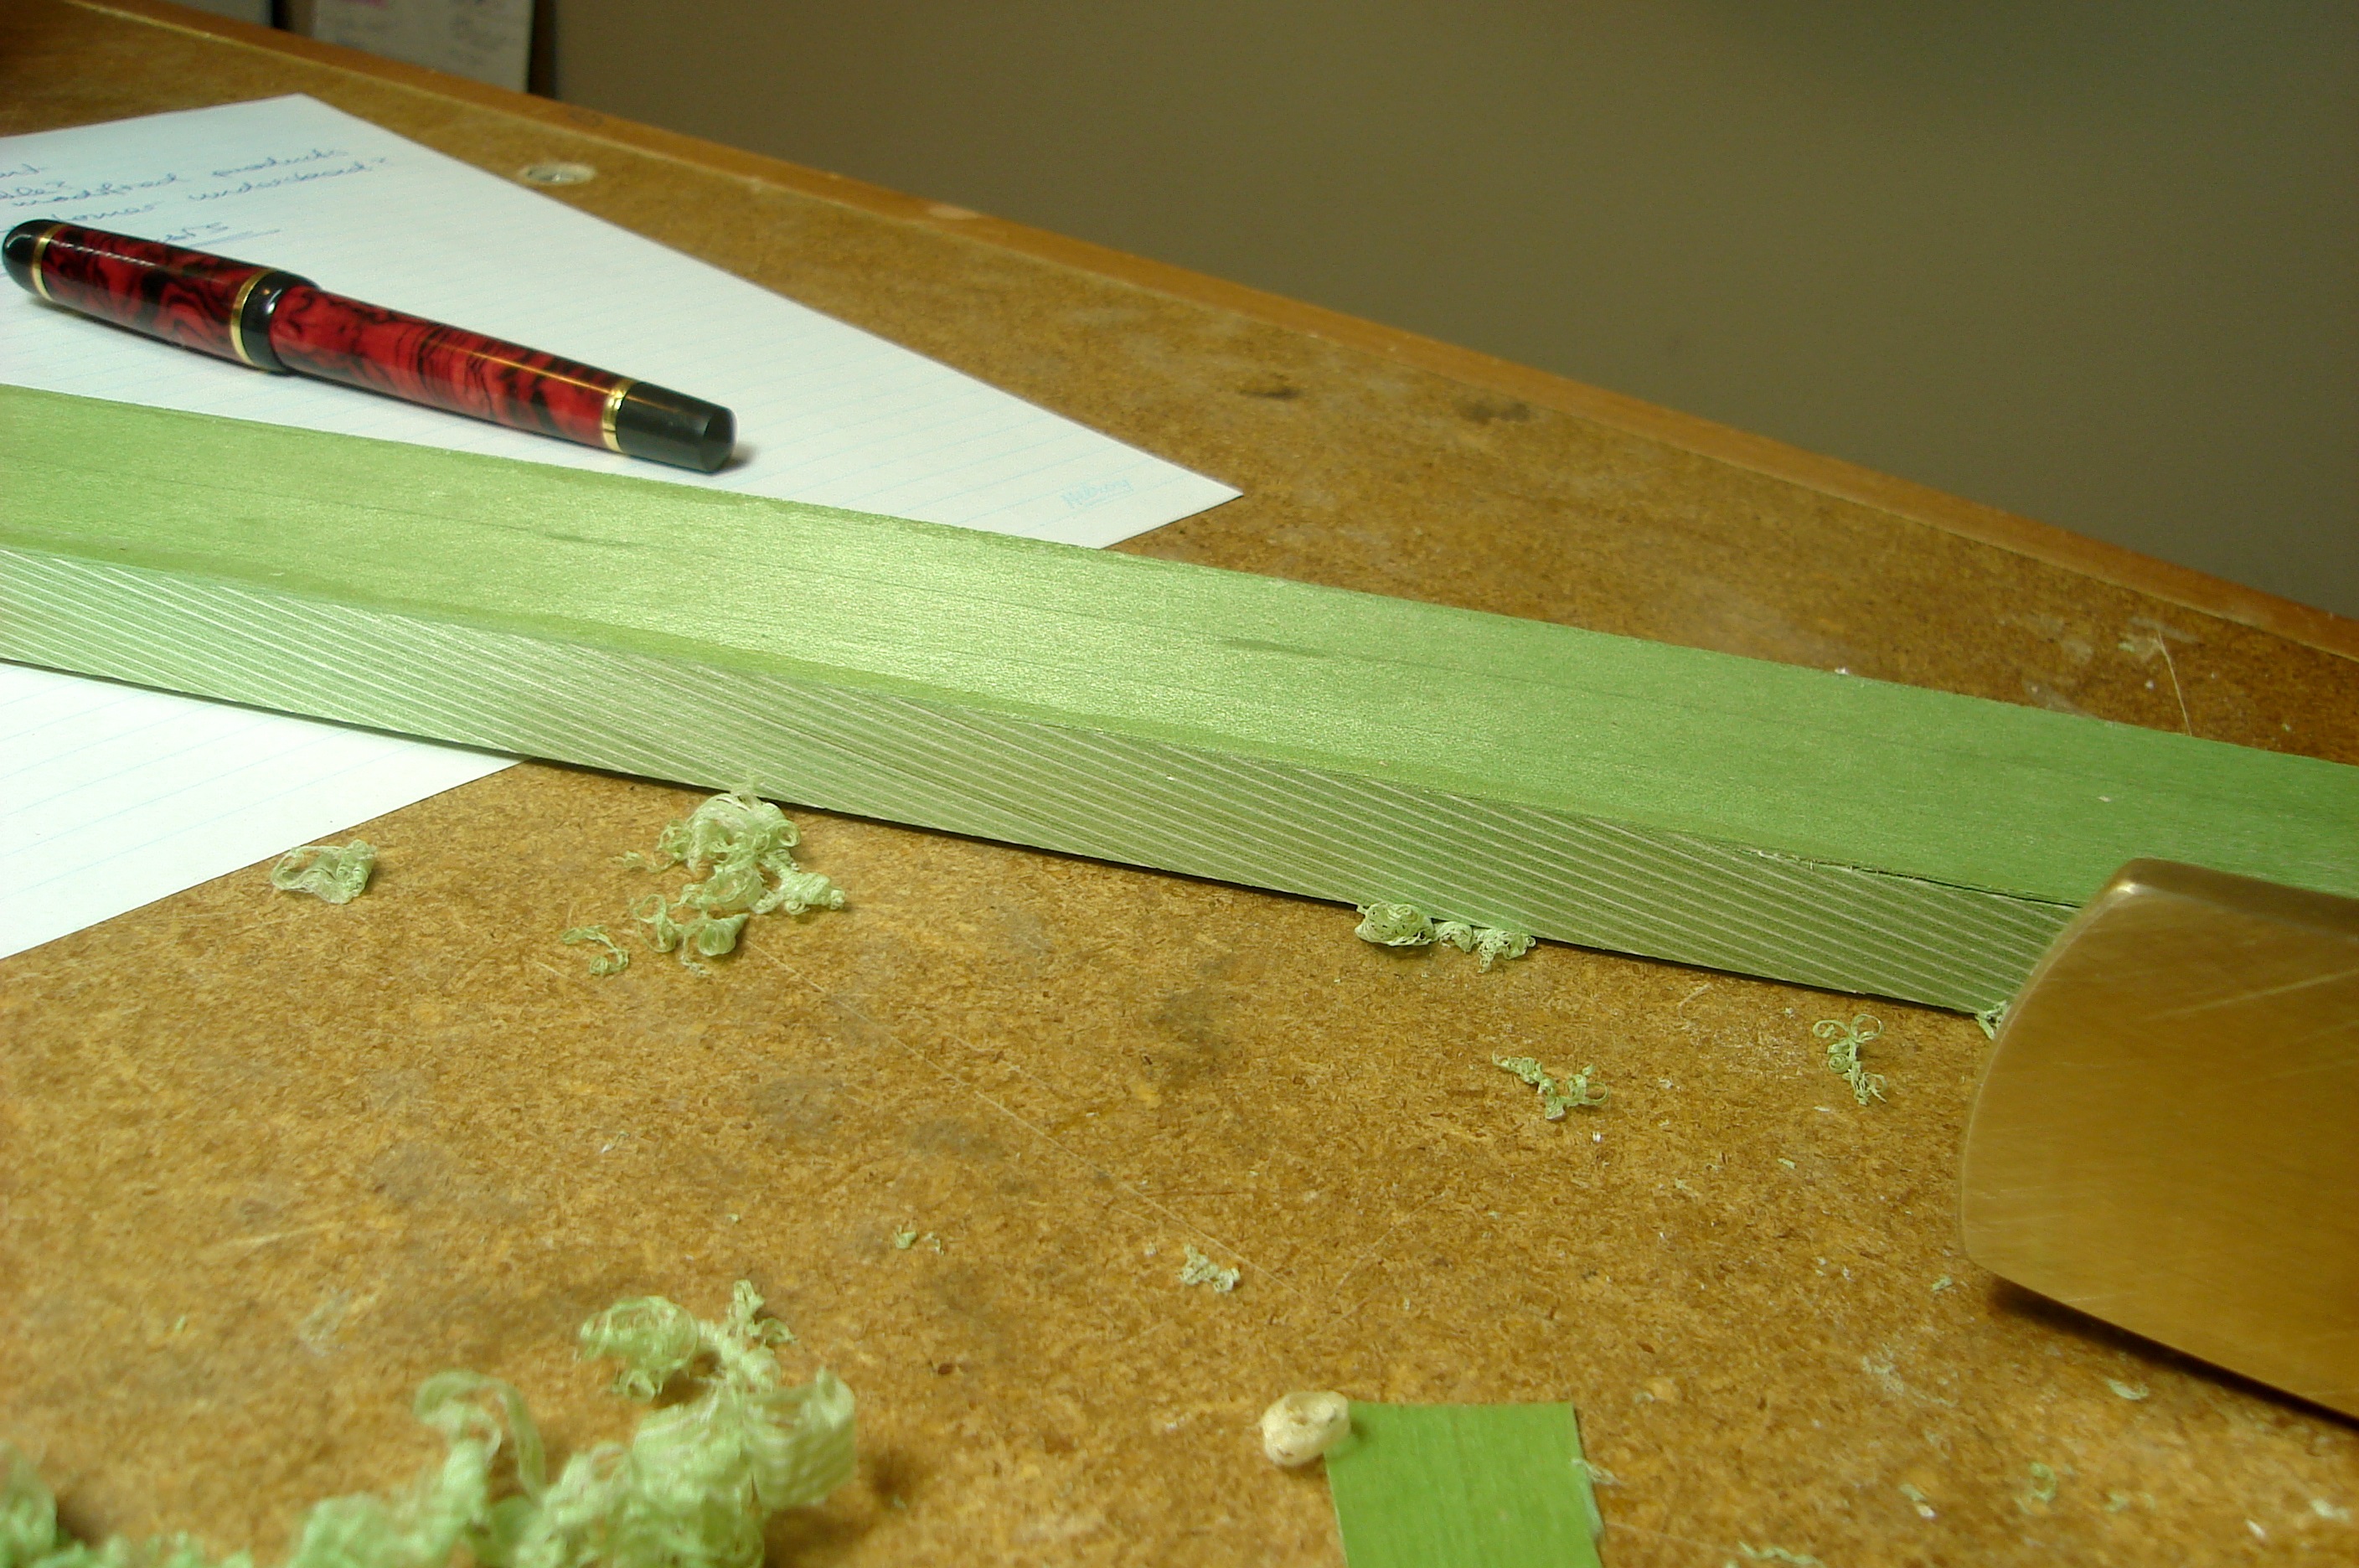
This moment was a beauty, and I actually yelled out “Heureka” at my workbench. It helped me to work with the traditional technique which Torres probably used as well, and also enabled me to produce very fine and delicate wheatear strips that characterise his work. This type of realisation stemming from imitating the old masters is exactly what I came looking for when I started this project, and I am thankful for this man to have taught me post-mortem.

